
Restore slate floors by cleaning thoroughly, repairing damage, sealing gaps, and applying a finish. Regular maintenance will keep them looking new.
Understanding the art of restoring slate floors is essential for homeowners and property managers seeking to revive the appearance of their spaces. Slate, a natural and durable stone, is prized for its longevity and unique aesthetic, but like all flooring, it can become dull and damaged over time.
Restoration involves a series of crucial steps, from deep cleaning to repair and sealant application, designed to protect the stone’s surface and enhance its natural beauty. Tackling this task not only boosts the visual appeal of your floors but also preserves the value of your investment. Whether you’re dealing with wear and tear or just want to refresh the room’s look, a carefully implemented restoration plan will ensure your slate floors remain timeless and elegant.
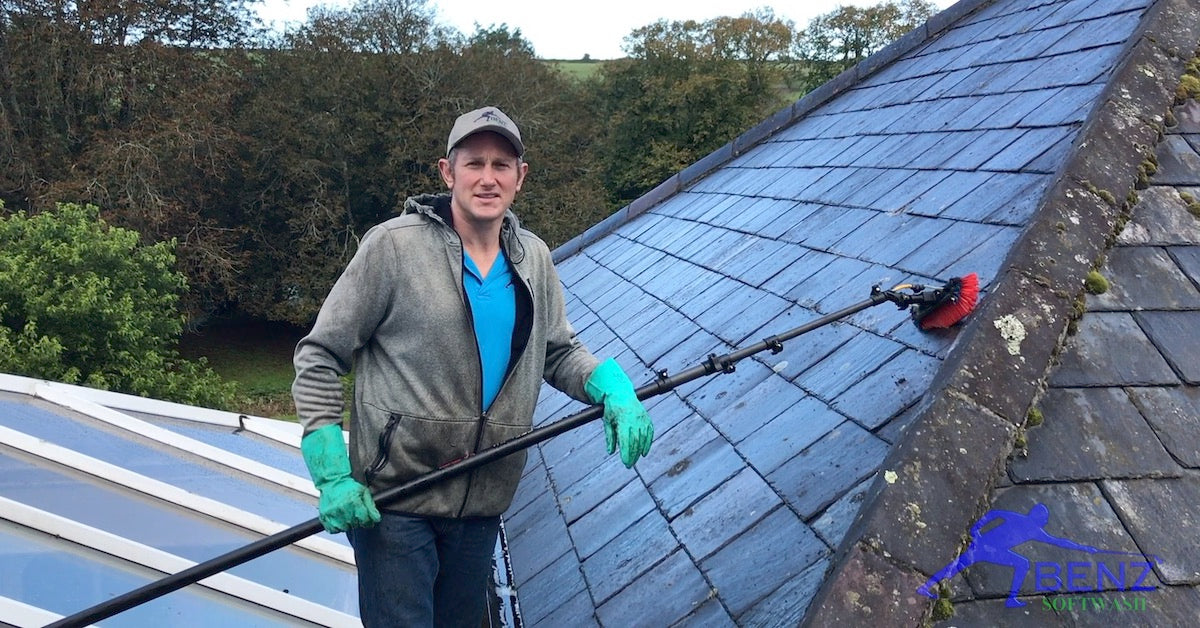
Credit: www.benzsoftwash.com
The Allure Of Slate Flooring
Slate flooring captures attention through its raw beauty and distinct texture. It brings nature inside, offering a sturdy piece of the outdoors in the comfort of a home. This natural stone flooring is popular for its versatility in style and design. Homeowners and designers prize slate for its visual appeal and resilience.
Timeless Aesthetic Appeal
Slate’s natural patterns create a unique floor, each piece with its own story. Its color palette ranges from muted grays to vibrant blues and greens. The charm of slate lies in its earthy tones and natural variation, ensuring no two floors are exactly the same. This leads to a timeless look that can complement any decor style.
Durability And Longevity
A properly maintained slate floor can last for decades. Its durability makes it an ideal floor for high traffic areas. Families love that it stands up to daily wear and tear. Slate’s resistance to stains, chips, and slips adds to its long lifespan. This floor thrives in any environment, from wet to high-footfall spaces.
Signs Your Slate Floor Needs Restoration
Slate floors can transform a space with their natural charm. But, like all flooring, they require proper maintenance to foster their longevity and beauty. Recognizing the signs when your slate floor needs restoration is vital. Timely restoration protects your investment and keeps the floors looking their best. Below we explore telltale signs indicating it is time to restore your slate floor.
Dullness And Discoloration
The vibrant color and sheen of your slate floors can fade over time. Dullness and discoloration often make floors appear old and unwelcoming. Watch for these changes:
- Less vibrant colors than when first installed
- Overall lackluster appearance
- Uneven coloring or fading
This loss in luster could be due to aging sealant or surface wear. A professional restoration service can rejuvenate your floors to their original splendor.
Scratches And Physical Damage
Physical damage on your slate floors should not go ignored. Common signs of wear include:
| Damaged Area | Description |
|---|---|
| Scratches | Visible lines on the surface that catch the light |
| Chips | Small broken pieces or gauges on the edges or surface |
| Cracks | Noticeable fissures that could spread over time |
Restoration can include repairing or replacing damaged tiles, ensuring your floor’s integrity and safety. Handle damage promptly to prevent further deterioration.
Preparing For Slate Restoration
Preparing for Slate Restoration breathes new life into your floors. Proper prep paves the way for a successful refresh. It’s like a clean canvas for an artist. Let’s dive into the steps you’ll need to follow before diving into the nitty-gritty of restoring your slate floors.
Cleaning The Surface
Begin with a clean sweep. Remove all furniture and rugs. Next, dust mop or vacuum to banish loose debris. For deeper cleaning, use a slate-specific cleaner. Follow these steps:
- Mix cleaner with warm water, as instructed.
- Mop the floor gently, avoiding soaking.
- Let the floor dry fully.
Inspecting For Damage
Thoroughly check your floor. Look for cracks, chips, or loose tiles. Ensure mortar and grout are intact. Note areas needing repair, as they’ll require special attention.
Gathering Necessary Supplies
Gather the right tools for a slate restoration project. Keep these supplies on hand:
| Equipment | Purpose |
|---|---|
| Stone sealer | Protects the slate |
| Grout filler | Fills gaps |
| Sealer applicator | Applies sealer evenly |
| Sponges & cloths | Cleans and wipes |
Remember, using quality products makes a difference. Cheap supplies can do more harm than good. Choose wisely for a flawless finish.
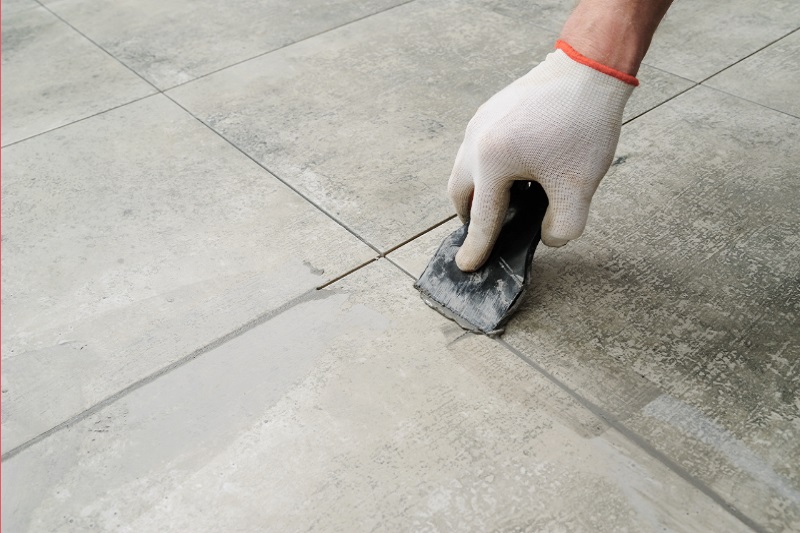
Credit: www.atlasceramics.co.uk
Step-by-step Restoration Process
Restoring the slate floors revives their natural beauty and preserves their durability. This step-by-step guide helps breathe new life into your slate floors, ensuring they gleam with exquisiteness once more.
Stripping Old Sealant
Begin by removing the old sealant. It’s a vital step to prepare the slate for refurbishment. Use a commercial stripper and follow the instructions carefully. Protect your hands with gloves and ensure the room is well-ventilated.
- Apply the stripper generously.
- Allow it to sit as per the product guidelines.
- Scrub the surface with a stiff brush.
- Mop up the residue and rinse thoroughly.
Deep Cleaning The Slate
The next step is to deep clean the slate to remove dirt and stains. Use a specialized slate cleaner or a mild detergent mixed with water.
- Mix the cleaning solution.
- Soak a mop and wring out excess liquid.
- Clean the floor in sections.
- Rinse with clean water to remove any soap residue.
- Dry with a soft towel or allow to air dry.
Repairing Cracks And Chips
Examine the slate for damage. Fill any cracks or chips with color-matched epoxy resin. This will restore the structural integrity of your slate tiles.
| Step | Action |
|---|---|
| 1 | Clean the damaged area. |
| 2 | Mix the epoxy according to the instructions. |
| 3 | Apply epoxy to the crack or chip. |
| 4 | Smooth it out and let it set. |
Applying New Sealant
Once the floor is clean and repairs made, apply a new sealant. This provides a protective layer, enhancing the slate’s color and giving it a fresh look.
- Choose a sealant suitable for slate.
- Apply it evenly with a brush or roller.
- Let the first coat dry completely.
- Add a second coat for extra protection.
Maintaining Your Restored Slate Floors
Once you breathe new life into your slate floors, ongoing maintenance is key. A well-maintained slate floor can last generations, staying as vibrant and inviting as the day it was restored. Embrace these simple yet effective strategies to maintain the beauty of your slate.
Regular Cleaning Tips
Keep your slate in top condition with these regular cleaning tips:
- Sweep or vacuum regularly to remove dirt.
- Use a damp mop with a pH-neutral cleaner.
- Avoid acidic or abrasive products that can damage the stone.
- For spills, blot promptly to prevent stains.
- Opt for soft cleaning tools to preserve the finish.
Preventing Future Damage
Protect your floors to avoid damage:
- Place mats at entrances to catch dirt.
- Use felt pads under furniture legs.
- Keep floors dry, especially in snowy or rainy weather.
- Avoid dragging objects across the floor.
When To Re-seal
Sealer acts as a protective layer for slate floors. Here’s when to re-seal:
| Slate Location | Seal Every: |
|---|---|
| High Traffic Area | 1-3 Years |
| Low Traffic Area | 3-5 Years |
| Bathroom/Kitchen | 1-3 Years |
| Outdoor Slate | 2-4 Years |
Notice signs of wear or water absorption? Re-seal as needed. Trust your eyes and regular checks to maintain that protective barrier.
Hiring Professionals Vs. Diy
When it comes to restoring slate floors, deciding between DIY or hiring professionals is crucial. Your choice impacts cost, time, and quality. Let’s explore both paths for your magnificent slate revival.
Assessing The Scope Of Work
Evaluating your project size and complexity is the first step. For smaller rooms or minor touch-ups, DIY might work. Large areas or severe damage often require expert skills.
Pros And Cons
| DIY | Pros | Cons |
|---|---|---|
|
|
|
| Professionals | Pros | Cons |
|
|
Finding The Right Contractor
Select a contractor with slate floor expertise. Check reviews and previous work. Ask for quotes from multiple contractors to compare prices and services offered.
- Check for licenses and insurance
- Request a detailed contract
- Ensure a warranty or guarantee is in place
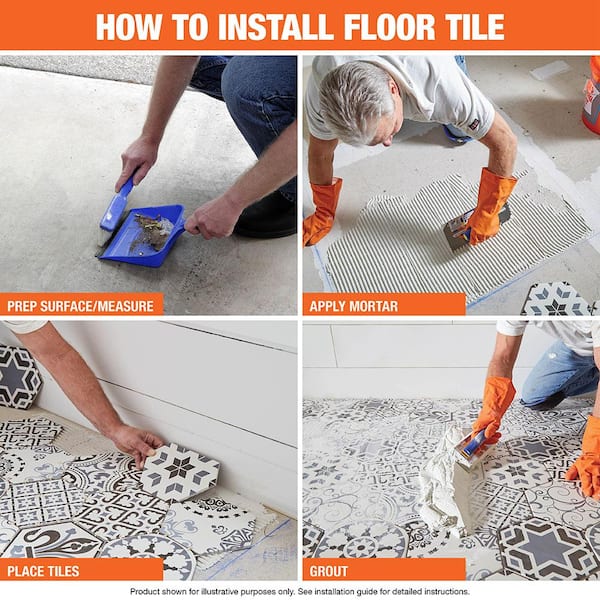
Credit: www.homedepot.com
Frequently Asked Questions For How To Restore Slate Floors
How Do You Revive A Slate Floor?
To revive a slate floor, start by thoroughly cleaning it with a pH-neutral cleaner. Next, repair any damaged grout lines. Then, reseal the floor with a high-quality slate sealer. Finally, buff the surface to restore its natural luster. Regular maintenance will keep it looking fresh.
Can Slate Floors Be Refinished?
Yes, slate floors can be refinished. The process involves cleaning, fixing any damaged tiles, and sealing the surface to restore its natural beauty.
How Do You Clean Old Dirty Slate Floors?
Sweep your slate floor to remove loose dirt. Use a pH-neutral cleaner diluted in warm water for mopping. Scrub stubborn stains gently with a soft brush. Rinse thoroughly with clean water, avoiding excess moisture. Dry the floor with a soft towel or mop.
What Does Vinegar Do To Slate?
Vinegar can damage slate by etching its surface, leading to dullness and potential discoloration. Avoid using it as a cleaner for slate materials.
Conclusion
Restoring your slate floors can refresh your home’s appeal, leaving a lasting impression. Embracing the steps outlined guarantees a stunning finish. Remember, regular maintenance is key. For more insights on floor care, keep following our blog. Your beautifully revived slate is just a project away.
Happy renovating!