
To install slate tile, start by preparing the substrate and applying thin-set mortar. Position the slate tiles, use spacers, and finish with grout after setting.
Embracing the timeless appeal of slate tiles can be a game-changer for any home improvement project. This task requires attention to detail and a systematic approach to ensure long-lasting results. Getting it right involves a series of steps, from the initial surface preparation, which is crucial for a stable foundation, to the careful application of mortar that will anchor the tiles in place.
The natural charm of slate comes with the added benefit of durability, making it an investment in your property’s aesthetics and value. As you embark on this DIY venture, it’s essential to follow best practices and equip yourself with the right tools for a successful installation. Let’s dive into the process that can transform your space with the distinctive character of slate tile.
Credit: www.rubi.com
Introduction To Slate Tile Installation
Slate tile brings a touch of natural beauty and durability to any space. With its unique texture and color variations, slate creates a timeless look. Whether you’re revamping your bathroom or updating your kitchen, learning to install slate tile can elevate your home’s design. Let’s dive into the process and make your DIY project a success!
Benefits Of Choosing Slate
Opting for slate tiles offers numerous advantages. Here are key benefits:
- Distinctive style: Slate’s natural patterns ensure no two tiles are the same.
- Long-lasting: Its inherent strength makes slate a lasting flooring choice.
- Easy upkeep: Slate requires minimal maintenance, ideal for busy homes.
- Value addition: Slate can boost your property’s market value.
Tools And Materials Needed
Before starting the job, gather the necessary tools and materials. Here’s a list to help you prepare:
| Tools | Materials |
|---|---|
| Tape measure | Slate tiles |
| Level | Thin-set mortar |
| Tile spacers | Grout |
| Wet saw | Sealer |
| Notched trowel | Sponge & bucket |
| Grout float | Clean cloth |
Ensure you wear safety gear, like gloves and goggles, to protect yourself during the installation.
Pre-installation Preparation
Before laying slate tiles, getting the groundwork right is key. A solid start means a flawless finish. Follow these steps to ensure your slate tile installation begins correctly.
Measuring And Planning Layout
Measuring the room correctly is important. Use a tape measure to find the length and width of the room. Multiply these numbers to get the total square footage. Adding 10% extra for waste and cuts is smart.
Sketch your room layout on graph paper. Show where the tiles will go. Think about the tile direction and where to start laying. Choose where the most visible tiles will be. A balanced look is essential.
Floor Surface Preparation
The floor must be clean and level before installing slate tiles. Here’s how to prepare your floor:
- Remove debris: Sweep and vacuum for a clean surface.
- Check levelness: Use a level to find uneven spots.
- Fill gaps: Repair any holes or cracks with filler.
- Apply primer: Use a primer suitable for slate to ensure a strong bond.
After these steps, your floor is ready! Now, you can begin laying your beautiful slate tiles with confidence.
Cutting And Fitting Slate Tiles
Installing slate tile is an exciting project. But you can’t lay the tiles without first knowing how to cut and fit them precisely. This section reveals key steps for measuring, marking, and cutting slate tiles. A sharp eye and a steady hand will ensure a professional-looking finish.
Marking And Cutting Tiles
Accurate marking and cutting are crucial for slate tiles. Start by measuring the space where the tile will go. Use a straight edge and a chalk line to mark your cut on the tile.
For cutting, you have a few tools to choose from. A wet saw cuts cleanly and reduces dust. Always wear safety glasses and gloves. Follow these steps:
- Set up your saw according to the manufacturer’s instructions.
- Align the tile with the blade, using your marks as a guide.
- Push the tile gently through the blade, making a smooth, steady cut.
- For smaller cuts, use a slate tile cutter or nippers.
Dry Layout For A Perfect Fit
Before any permanent installation, lay out your slate tiles dry. This process helps you see the overall design and make adjustments without adhesive.
Follow this simple method:
- Start from the center of the area and work your way out.
- Place tiles according to your design, leaving spaces for grout lines.
- Adjust spacing and alignment as needed for a symmetrical look.
- Mark tiles that need cutting when they reach the wall or an obstacle.
A dry layout prevents mistakes and ensures that all pieces fit perfectly.

Credit: www.amazon.com
Adhering The Slate Tiles
Getting slate tiles to stick tight involves two key steps: mixing mortar the right way and setting tiles properly. It’s not just about squishing tiles onto the floor. It’s an art that ensures tiles stay put for years. Let’s dive into these steps to achieve that perfect slate floor finish.
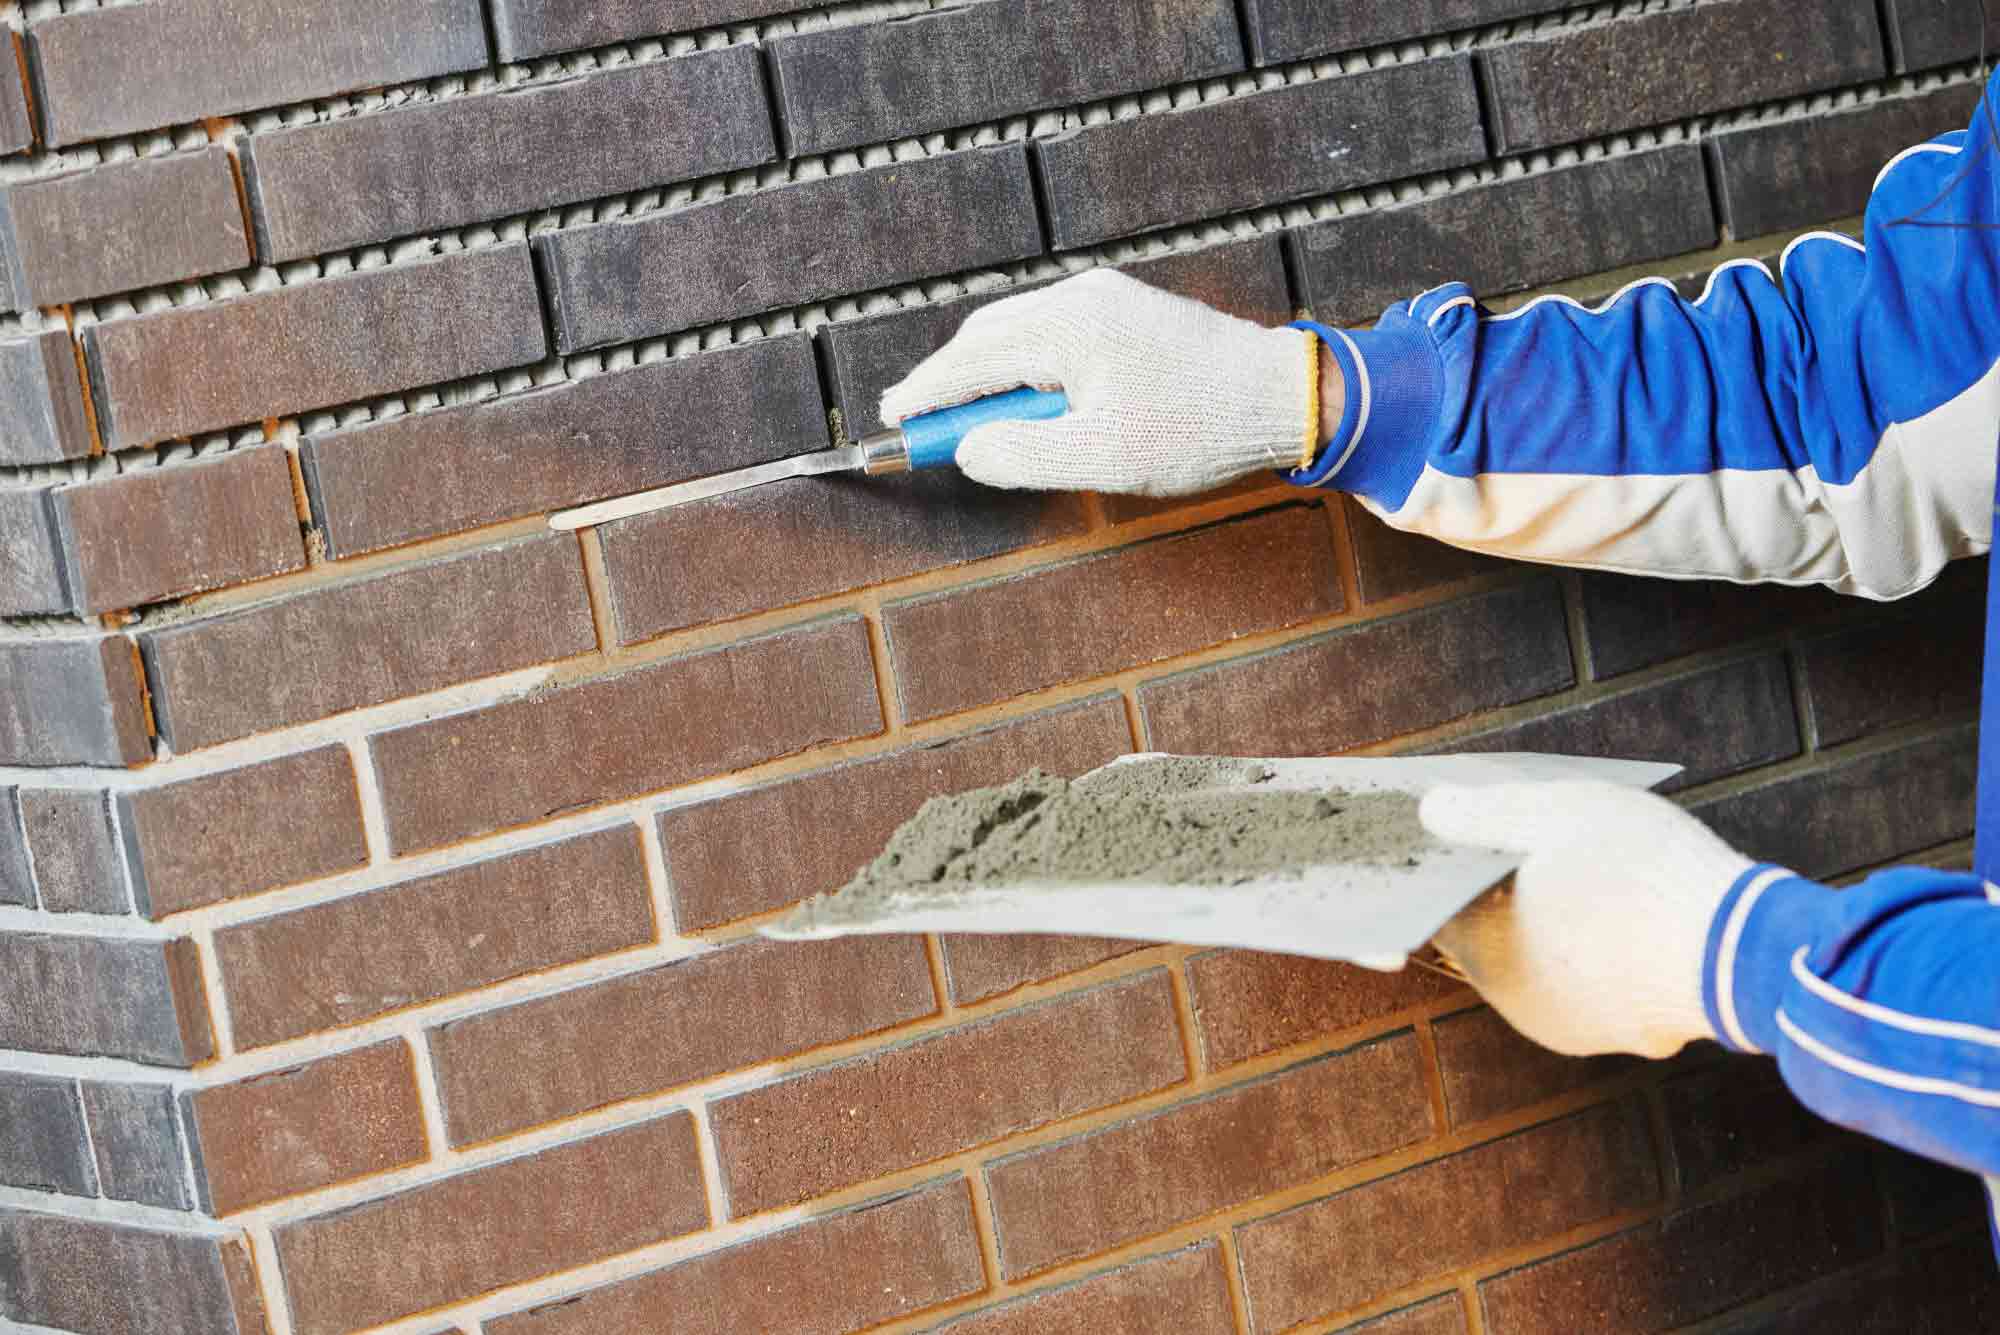
Mixing And Applying Mortar
The secret to a firm hold begins with a good foundation. That means mixing the mortar to just the right consistency. Start by grabbing your tools: a mixing drill and a mixing paddle. Check the back of your mortar bag for the water-to-powder ratio. Pour water into a clean bucket, add the mortar powder, and mix until it’s as thick as peanut butter. No lumps!
Setting Tiles In Place
| Step | Action | Tips |
|---|---|---|
| 1 | Spread mortar | Use a trowel to apply an even layer. |
| 2 | Comb mortar | Make straight lines with the trowel’s notched side. |
| 3 | Place tile | Set the slate tile firm against mortar. |
| 4 | Tap tile | Gently tap with a mallet to secure. |
| 5 | Check level | Use a level to ensure even placement. |
| 6 | Wipe excess | Clean any mortar on tile surface quickly. |
- Prepare a batch of mortar that you can use within 30 minutes.
- Apply mortar using the flat side of the trowel over a 2×2 foot area.
- Don’t rush. Work with patience and care.
Remember, each tile is unique. Fit them like puzzle pieces, leaving space for grout. Repeat the process until your floor is covered with beautiful, sturdy slate tiles. You’ve got this!
Grouting And Cleaning
After installing your slate tile, the next step is to grout and clean it. This process fills spaces and seals your work, ensuring a beautiful, long-lasting finish. Let’s dive into the best ways to grout and clean your slate tile.
Choosing And Mixing Grout
Choosing the right grout is vital. For slate tiles, sanded grout works best. It’s sturdy and perfect for the tile’s natural texture. Be sure to pick a color that complements your tile. Darker grout hides stains, while lighter shades can highlight your tile’s unique features.
- Read the instructions on the grout mix package.
- Use clean water and a mixing paddle.
It’s essential to mix the grout to a smooth, peanut butter-like consistency. Let it sit for a few minutes after mixing to eliminate air bubbles.
Filling Joints And Removing Excess
Filling the joints with grout is a precise task. Be patient and fill every joint completely.
- Fill your grout float with mixed grout.
- Apply grout at a 45-degree angle to the joints.
- Make sure all joints are filled without gaps.
Removing excess grout is just as important. Do this before it dries.
- Use the edge of your grout float to scrape away surplus.
- Wipe the tiles with a damp sponge in a diagonal motion.
- Repeat the wiping process until tiles are clean.
Let the grout set according to the product’s instructions. Once dried, a haze might appear on the tile. Use a clean, dry cloth to buff it away. Your slate tile will now exhibit its full beauty without any grout smudges!

Credit: www.bintheredumpthatusa.com
Finishing Touches
With your slate tile beautifully laid out, it’s time for the crucial final steps. Sealing and proper maintenance ensure your work stays protected and looks great for years. Let’s dive into the nuances of finishing touches that will make your slate tile installation truly complete.
Sealing Slate Tiles
Sealing is essential for protecting your slate from stains and moisture. Choose a high-quality sealant that’s compatible with slate. Apply it with a soft brush or sponge, covering every tile evenly. Remember to let it dry as per the instructions on the sealant. This often takes around 24 hours. After the first coat dries, apply a second to ensure thorough coverage. Test your sealant by sprinkling water on the surface. If it beads, you’ve sealed your slate successfully.
Maintenance Tips For Longevity
Keep your slate tile looking its best with these simple care tips:
- Regular Cleaning: Sweep or vacuum often to remove debris.
- Gentle Mops: Use a damp mop with mild soap for deeper cleans.
- Immediate Spill Response: Blot spills quickly to avoid staining.
- Avoid Harsh Chemicals: They can damage slate’s natural beauty.
Avoid dragging furniture across your slate. Attach felt pads to furniture legs to prevent scratches. Reapply sealant every few years to maintain its protective layer. With these steps, your slate installation will remain as striking as the day it was completed.
Frequently Asked Questions Of How To Install Slate Tile
What Kind Of Thinset Do You Use For Slate?
Use a latex-modified thinset mortar for installing slate tiles. It provides better adhesion and flexibility, essential for slate’s natural variations.
What Do You Lay Slate Tiles On?
Lay slate tiles on a solid, clean, level, and dry subfloor or mortar bed. Use appropriate adhesive or mortar for strong bonding.
Is Slate Difficult To Install?
Slate installation can be challenging due to its heavy weight and the need for precise cutting and fitting. Expertise in tiling is recommended for best results.
What Subfloor Is Needed For Slate Tile?
A sturdy, level concrete or plywood subfloor is essential for installing slate tile. Ensure the surface is clean and free from debris before laying the tiles.
Conclusion
Installing slate tile enriches your space with natural beauty and durable functionality. By following the steps outlined, you’ll achieve a professional-looking surface. Remember, taking your time to prepare and lay out each tile properly ensures long-lasting results. Enjoy the transformation of your space with slate’s timeless elegance.