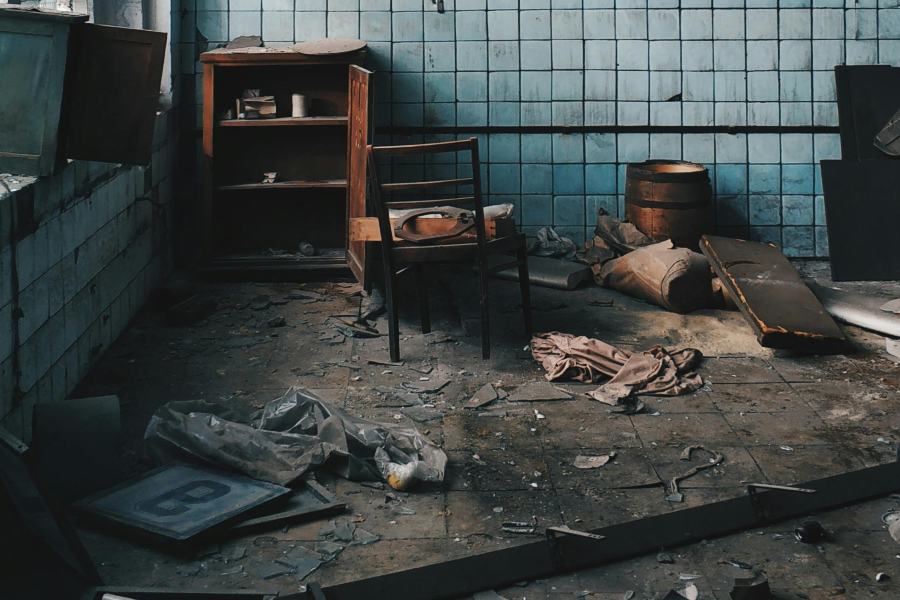
To remove slate tile from a concrete floor, begin by breaking up the tiles with a hammer and chisel. Next, use a floor scraper to remove the tile fragments and adhesive.
Removing slate tile from a concrete floor can be a challenging endeavor, but with the right tools and techniques, it’s a task that many DIY enthusiasts can handle. Whether you are renovating your home, updating a room, or repairing damaged tiles, this process involves several steps that require patience and precision.
Safety should be a priority—eye protection and gloves are essential to prevent injury from flying debris. Starting with a well-organized workspace and proper tools can make the procedure more efficient. This guide provides a straightforward approach to detaching slate tiles from concrete, ensuring your flooring project starts on solid ground.
Credit: graniteguyinc.com
Slate Tile Removal Essentials
Refreshing your flooring? Starting with a clean slate—literally—means removing the old slate tiles efficiently. Understanding the Slate Tile Removal Essentials streamlines the process, reducing the risk of damage to the concrete beneath. Let’s dive into the necessities for effectively stripping away those stubborn slate tiles.
Safety First: Protective Gear And Precautions
Before chiseling away, gear up for safety. Protecting yourself is paramount. Always wear heavy-duty gloves to shield hands from sharp edges. Long sleeves and pants prevent cuts and scrapes. Safety goggles are a must—they keep flying debris out of your eyes. A dust mask or respirator blocks harmful particles from your lungs. Ensure the room has good ventilation to reduce dust buildup. Lastly, have a first aid kit close by, just in case.
Tool Checklist: What You’ll Need
Arm yourself with the right tools for an effective removal. A hammer and chisel are your primary allies in popping off tiles. An electric floor scraper or a demolition hammer fitted with a chisel bit can speed up the process. A heavy-duty broom and a dustpan assist in the clean-up efforts. A shovel or a floor scraper helps remove the tile adhesive residue. For a smooth surface, have a concrete grinder or sanding tools at the ready. Don’t forget heavy-duty trash bags to discard the old tiles and debris.
- Hammer and chisel for precision work
- Electric floor scraper or demolition hammer for efficiency
- Heavy-duty broom and dustpan for cleanup
- Shovel or floor scraper to remove adhesive
- Concrete grinder or sanding tools for smoothing surfaces
- Heavy-duty trash bags for debris disposal
Preparation Before Starting
Embarking on a DIY project to remove slate tile from a concrete floor requires meticulous preparation. Before the first tile gets pried up, setting the stage for a successful and efficient removal is crucial. Here’s how to prep like a pro.
Clearing The Area: Furniture And Appliance Removal
- Empty the space of all furniture, rugs, and movable items.
- Relocate appliances that might hinder tile removal.
- Use protection for items too heavy to move.
- Free up a nearby area to store removed tiles and debris.
Initial Assessment: Identifying Weak Points
Start with a careful examination of the tile floor to locate cracks and loose pieces. These spots often indicate the easiest starting points for tile removal. A well-executed initial assessment spares time and effort during the process. Look for:
| Weak Point | Details |
|---|---|
| Cracked Tiles | Potential starting points for prying. |
| Loose Tiles | Less effort required to remove. |
| Missing Grout | Indicates possible adjoining weak tiles. |
Mark these areas with painter’s tape for easy visibility during the removal process. By identifying the weakest parts of the floor, you’ll gain insight into the best approach and tools needed for your project.
Beginning The Removal Process
Are you ready to say goodbye to that old slate tile? Removing slate tile from a concrete floor can be a challenge. But with the right approach, you can get the job done. Let’s break this down into steps and get started on your project!
Starting At The Right Spot: Where To Begin
Finding the best spot to begin is vital. Look for a loose tile or an edge. If none are loose, create a starting point. You could chisel out one tile to set the stage for the rest. Use eye protection and gloves!
- Search for a loose tile
- If needed, create your own starting point
- Wear safety gear to protect yourself
Technique Matters: Prying Up The Tiles
The right prying technique is crucial. Chisel and hammer at an angle. Work the tool under the tile. Lift gently. Keep the angle shallow to avoid damaging the concrete.
- Insert chisel at a low angle
- Hammer gently to work it under the tile
- Lift the tile with care
Go slow to preserve the concrete. Break fewer tiles for a cleaner job. Ready for the next part?
Addressing The Underlayment And Adhesives
When renovating a space with slate tile on concrete, proper removal is key. Addressing the underlayment and adhesives under these tiles can be challenging. This guide helps simplify the process.
Underlay Strategies: Tips For Removal
Before tackling slate tiles, understand the underlay. It’s often a layer that provides stability and cushioning for the tiles. Depending on the type, here are strategies for removal:
- For plywood underlays, locate screws or nails and remove them.
- With mortar beds, use a chisel and hammer to break it apart.
- For self-leveling compounds, a floor scraper works effectively.
Always wear safety goggles and gloves to protect from sharp debris.
Dealing With Adhesive Residue: Methods And Materials
After underlay removal, focus on adhesive residue. Depending on the adhesive type, here are some methods and materials to clean the concrete floor:
| Adhesive Type | Cleaning Method | Material Needed |
|---|---|---|
| Thinset | Scraping | Heavy-duty floor scraper |
| Mastic | Application of solvent | Adhesive remover |
| Epoxy | Heating and scraping | Heat gun and scraper |
Ensure proper ventilation while working with solvents. Test a small area first to check the floor’s reaction.
Finishing Touches
After removing slate tiles from a concrete floor, a clean and smooth surface is vital. This section guides you through the final steps to ensure your floor is ready for its next phase. Whether you intend to lay new flooring or leave the concrete bare, the right finishing touches make the desired outcome shine.
Concrete Floor Cleanup: Ensuring A Smooth Surface
A proper cleanup prepares the concrete for new flooring. First, sweep the area to remove large pieces. Next, use a floor scraper or a heavy-duty grinding machine to smooth out imperfections. For smaller residues, apply a concrete solvent to break them down. Finish with a vacuum to ensure no debris remains. Follow these steps for a perfect surface:
- Sweep thoroughly to clear large debris.
- Scrape or grind the surface to level any bumps.
- Apply solvent to remove adhesive residues.
- Vacuum for a dust-free finish.
Disposal Of Debris: Eco-friendly Options
Disposing of slate tile debris responsibly is critical. Instead of dumping the waste, consider eco-friendly options such as:
- Recycling programs that take construction materials.
- Contacting a local waste management facility for guidelines.
- Donating usable pieces to reuse centers or charities.
- Employing professional haul-away services that follow green practices.
Choose a method that suits your needs and supports sustainability.
:max_bytes(150000):strip_icc()/SPR-installing-slate-tile-1314981-hero-5d37ac13e7b04eb1b3dce8448dfd9722.jpg)
Credit: www.thespruce.com
Post-removal Considerations
You’ve successfully removed slate tile from your concrete floor. Great work! Now, let’s focus on what comes next. This stage is crucial to ensure a smooth, safe surface for your upcoming flooring. For a seamless transition, consider two main aspects: an inspection and repairs, followed by installing a new floor. Let’s dive into the details.
Floor Inspection And Repair: Preparing For New Flooring
After tile removal, checking your concrete floor is a must. Look for cracks, holes, or uneven patches. These could affect your new flooring. A well-prepared surface ensures longevity and beauty for your next floor choice. Repair any concrete flaws to create a solid foundation.
- Fill small cracks with concrete repair compound.
- For larger damage, consider professional help or use a concrete patching product.
- Level out bumps and low spots. Self-leveling concrete can be a DIY fix for this.
Installation Tips For New Flooring
With a repaired surface, you’re ready for new flooring. The best install starts with proper planning. Select quality materials and ensure you have the right tools. Here’s a step-by-step guide to ensure a flawless install:
- Gather installation tools: This could include trowels, spacers, and a level.
- Follow the manufacturer’s guidelines for your specific flooring.
- Allow your flooring to acclimate in the room. This minimizes expansion and contraction post-install.
- Plan your layout. Position the first few rows before securing them down.
- For tile, mix thin-set mortar properly. For wood, ensure your subfloor is completely dry.
Remember these post-removal steps and your new floor will be set for success!
Frequently Asked Questions Of How To Remove Slate Tile From Concrete Floor
What Is The Easiest Way To Remove Tile From A Concrete Floor?
To easily remove tile from concrete, start by using a manual floor scraper to loosen and pry up the tiles. Follow with a hammer and chisel for any stubborn pieces. Always wear safety gear to protect against flying debris.
How Much Does It Cost To Remove Slate Floor?
Removing a slate floor typically costs between $5 and $10 per square foot, depending on the removal complexity and local labor rates.
How Do You Break Up Slate Tiles?
Wear safety goggles and gloves for protection. Score slate tiles with a tile scribe. Tap gently along the scored line using a hammer and chisel. Pry pieces apart carefully, maintaining steady pressure. Smooth rough edges with a rubbing stone if needed.
How Do You Get Concrete Off Slate?
Gently scrape off excess concrete with a plastic putty knife. Apply a diluted vinegar solution to the area, let it sit briefly, then scrub gently with a soft brush. Rinse thoroughly with water to remove any vinegar residue.
Conclusion
Removing slate tile from a concrete floor can be a challenging task, yet with the right tools and techniques, it’s manageable. By following the steps outlined in this post, you’ll ensure that your floor is prepared for a fresh new look.
Remember, safety and patience are key to successfully completing this home improvement project. For more DIY tips and guides, keep following our blog for updates.