To grout slate tile, start by preparing the materials needed and ensuring the surface is dry. Then, apply the grout, remove any surface grout, and clean off excess grout before sealing it.
This will help to protect the tile and achieve a clean finish. Avoid using sanded grout on slate tile as it can scratch the surface. Additionally, it is recommended to seal the slate tile before grouting to prevent the grout color from penetrating the tiles.
Use a clear sealer or enhancer as a grout release to ensure a clean surface. Following these steps will help you successfully grout slate tile.
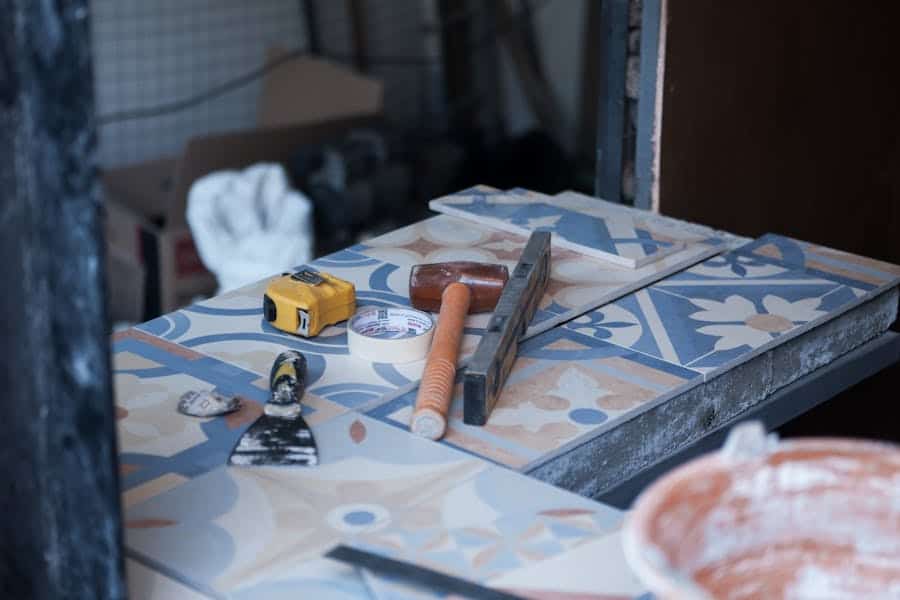
Credit: www.contractorsdirect.com
Preparation
Learn how to grout slate tile effectively by preparing the surface with a dry finish, applying the grout carefully, and sealing it for a clean look that enhances your space. Utilize grout tools to ensure precise application and removal processes for seamless results.
Gathering Materials
To achieve a successful grouting process for slate tiles, it’s crucial to gather the necessary materials. Ensure you have knee pads, grout, rubber float, and a sponge for cleaning.
Preparing The Surface
Prior to grouting, it’s important to prepare the slate surface. Begin by thoroughly cleaning the tiles and ensuring they are dry. Use a damp sponge to wipe the surface, removing any dust or debris that could affect the grout’s adhesion. Also, consider applying a clear sealer or enhancer to the tiles before grouting to prevent the grout from penetrating the slate.
Grout Application
Once you have prepared your slate tiles and completed the necessary preparations, it is time to move on to the grout application stage. This is an essential step in the tiling process that helps to secure and protect your slate tiles, ensuring their longevity and aesthetic appeal. In this section, we will guide you through the grout application process, including how to mix the grout, use grouting tools, and apply the grout effectively.
Mixing The Grout
Before you begin applying the grout, it is crucial to mix it properly. Follow these steps to ensure a smooth and consistent mixture:
- Gather your grout and a clean bucket.
- Fill the bucket with clean, lukewarm water, about three-quarters full.
- Add the grout gradually to the water while stirring continuously.
- Continue stirring until the mixture reaches a thick, creamy consistency.
- Let the grout rest for a few minutes before using it.
Using Grouting Tools
Having the right tools for grouting is essential to achieve a professional finish. Here are some commonly used grouting tools:
- Rubber Float: Use a rubber float to spread the grout evenly and push it into the gaps between the tiles.
- Grout Float: A grout float can be used to apply the grout to the tiles and smooth it into the joints.
- Sponge: Keep a damp sponge nearby to wipe away excess grout and clean the tiles during the grouting process.
- Grout Brush: A grout brush can be helpful for scrubbing away stubborn grout stains or residue after the grout has dried.
Applying The Grout
Now that you have your grout mixed and your tools ready, it’s time to apply the grout to your slate tiles. Follow the steps below for a successful grout application:
- Ensure that your surface is clean and dry before grouting.
- Using a rubber float, scoop some grout from the bucket.
- Hold the float at a 45-degree angle and spread the grout diagonally across the tiles, filling the gaps completely.
- Work in small sections at a time to prevent the grout from drying out.
- Once a section is filled, use the float to remove any excess grout and smooth the surface.
- Repeat the process until all the tiles are grouted.
- Allow the grout to set for the recommended time according to the grout manufacturer’s instructions.
- Once the grout is firm but not fully dry, use a damp sponge to wipe away any haze or residue from the tile surface.
- Continue to clean the tiles and rinse the sponge frequently to ensure a neat and polished finish.
Finishing Touches
Removing Surface Grout
Start by dampening a sponge and wiping the surface of the slate tiles to remove excess grout.
Removing Excess Grout
- Use a rubber float to gently remove any excess grout from the tiles.
- Ensure to clean the surface thoroughly to reveal the natural beauty of the slate tiles.
Sealing The Grout
- Apply a clear sealer or enhancer on the slate tiles before grouting to prevent grout from penetrating the surface.
- Use the sealer as a grout release to guarantee a clean finish.
Now that you’ve mastered the art of grouting slate tiles, these finishing touches will elevate the look of your project. Don’t forget to remove surface grout, rid the tiles of excess grout, and seal the grout for a polished finish. Following these steps will ensure your slate tiles look impeccable and stand the test of time.
Sealing Slate Tiles
Learn how to grout slate tiles with these helpful tips. From preparing the surface to applying the grout and sealing it, this guide will ensure a successful slate tile installation. Avoid common grouting mistakes and achieve a clean and beautiful finish.
Importance Of Sealing
Sealing slate tiles before grouting is crucial for several reasons. Firstly, it acts as a protective barrier, preventing any moisture or stains from penetrating the porous surface of the slate. This helps to maintain the natural beauty of the tiles and prolong their lifespan.
Secondly, sealing the tiles makes the grout removal process easier and cleaner. When the pores of the slate are sealed, the grout doesn’t stick within them, allowing for quick and efficient grout removal. This saves time and effort during the grouting process.
Lastly, sealing the slate tiles ensures that the grout color does not penetrate the tiles. This is particularly important if you want to maintain the original color and appearance of the slate. By using a clear sealer or enhancer as a grout release, you can achieve a clean and uniform grout finish.
Recommended Sealers
When it comes to choosing a sealer for your slate tiles, there are several options available. Here are some recommended sealers:
- Penetrating sealers: These sealers penetrate deep into the pores of the slate, forming a protective barrier from within. They are ideal for enhancing the natural beauty of the slate and providing long-lasting protection.
- Topical sealers: These sealers create a protective layer on the surface of the slate. They offer excellent stain resistance and are relatively easy to apply. However, they may require periodic reapplication.
- Color-enhancing sealers: If you want to enhance the color and richness of your slate tiles, color-enhancing sealers are a great option. They provide a deeper, more vibrant look to the slate.
It is essential to choose a sealer that is specifically designed for slate tiles. Always follow the manufacturer’s instructions for application and reapplication to ensure the best results.
Choosing The Right Grout
When grouting slate tile, selecting the appropriate grout is vital for achieving a flawless finish. Here, we delve into the key considerations of Choosing the Right Grout for your slate tile project.
Sanded Vs. Unsanded Grout
For slate tiles with wider joints, opt for sanded grout as it provides better stability and prevents cracking. Conversely, unsanded grout is ideal for narrow joints to avoid scratching the slate’s surface.
Matching Grout Color
- Ensure the grout color complements the slate tiles for a cohesive look.
- Test the grout color on a small area before applying to the entire surface.
- Take into account factors like natural lighting and the desired aesthetic when selecting the grout color.
Common Challenges
Grouting slate tile presents certain challenges that may differ from grouting other types of tiles. Understanding and addressing these challenges can ensure a successful grouting process and impeccable results for your slate tile installation.
Grouting Porous And Uneven Tiles
When grouting porous and uneven slate tiles, various difficulties can arise. The porous nature of slate can make it challenging for grout to adhere uniformly, leading to inconsistent coloration and potential durability issues. Additionally, the uneven surface of slate tiles can cause grout to settle unevenly, creating an unattractive and potentially unstable grout line.
Tips For Riven Slate
Riven slate, characterized by its textured and uneven surface, requires special attention during the grouting process. Due to its uneven nature, standard grouting techniques may not suffice, necessitating unique approaches to ensure a smooth and uniform grout application.
Expert Advice & Resources
Grouting slate tile can be a challenging task, but with the right guidance and resources, you can achieve professional-looking results. Whether you’re a seasoned DIY enthusiast or a professional contractor, obtaining expert advice and tapping into valuable resources can make the grouting process smoother and more effective. Here’s a breakdown of useful video tutorials, professional tips, and online communities to help you achieve the best grouting outcome for your slate tile installation.
Video Tutorials
Video tutorials provide comprehensive visual guidance that can be incredibly valuable when grouting slate tile. By watching experts in action, you can learn the best practices, techniques, and tools required for successful slate tile grouting. Additionally, video tutorials often demonstrate specific challenges that may arise during the grouting process, offering practical solutions and tips to overcome them.
Professional Tips
Professional advice and tips from industry experts can provide invaluable insights into grouting slate tile. It’s essential to learn from those who have hands-on experience and expertise in slate tile installations. Professional recommendations on grout selection, color matching, surface preparation, and sealing procedures can significantly impact the overall quality and durability of the grout application.
Online Communities
Engaging in online communities related to tile installation and grouting can connect you with a network of knowledgeable individuals willing to share their experiences, troubleshoot challenges, and offer practical advice. Platforms such as Reddit, tile forums, and dedicated tile installation websites can serve as valuable resources for seeking guidance, asking questions, and gaining insights from a community of like-minded individuals.

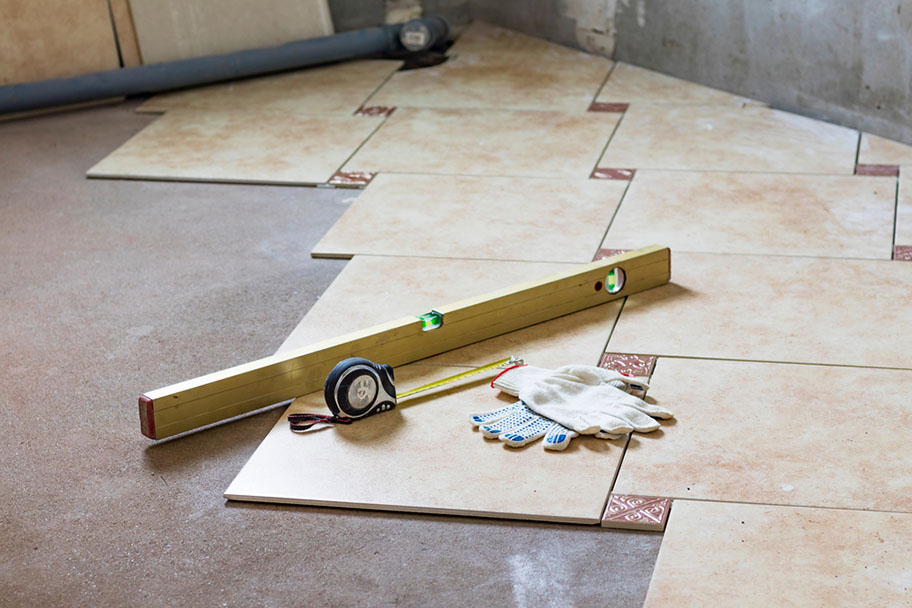
Credit: grout-experts.com
Frequently Asked Questions For How To Grout Slate Tile
Do You Need To Seal Slate Tile Before Grouting?
Yes, it is recommended to seal slate tile before grouting to prevent grout from penetrating the tiles. This will make grout removal easier and ensure a clean surface. Use a clear sealer or enhancer to block the pores of the slate before grouting.
What Kind Of Grout Do You Use For Slate?
For slate, use sanded grout to fill wider joints and unsanded grout for narrower joints. Apply and seal carefully.
Can You Grout Slate Tiles?
Yes, you can grout slate tiles by sealing them first to block pores, enabling easy grout removal.
Do You Need Sanded Or Unsanded Grout For Slate Tile?
For slate tile, it is recommended to use sanded grout.
Can You Grout Slate Tiles Without Sealing Them First?
Sealing slate tiles before grouting prevents grout penetration, making the process smoother and easier.
What Type Of Grout Is Best For Sealing Slate Tiles?
Choosing the right grout for slate tiles ensures a proper seal and finish for your project.
Conclusion
To ensure a successful grouting process for your slate tile, it is important to follow these steps carefully. First, make sure your surface is dry before applying the grout. Then, apply the grout using the appropriate tools and remove any excess grout.
Sealing the grout is also recommended to protect the tiles. Remember to choose a grout color that complements your slate tiles for a cohesive look. By following these tips, you’ll be able to achieve a beautifully grouted slate tile floor or wall.
Happy grouting!