To stick tiles to a wood wall, use a high-quality adhesive specifically designed for this purpose. Make sure the wood surface is clean and free from any dust or debris before applying the adhesive.
Once the adhesive is applied, press the tiles firmly onto the wood surface and allow sufficient time for the adhesive to set and bond the tiles securely. When it comes to adding an elegant and durable finish to a wood wall, tiles can be a fantastic option.
Whether you’re looking to create a striking accent wall or enhance the visual appeal of a space, adhering tiles to a wood wall can provide a modern and sophisticated look. We’ll explore the process of sticking tiles to a wood wall, including the necessary materials and step-by-step instructions to ensure a successful and long-lasting installation. Whether you’re a seasoned DIY enthusiast or a first-time tile installer, this guide will help you achieve professional results and transform your wood wall into a stunning focal point.
Introduction To Tiling On Wood
Discover the art of tiling on wood by learning how to effectively adhere tiles to a wooden wall. Implement proper techniques to ensure a durable and visually appealing finish that transforms your space with a touch of elegance. Master the process of securely affixing tiles to wood for a stunning result.
Tiling on wood walls can be a daunting task, but with the right technique and materials, it can be achieved successfully. In this article, we will guide you on the benefits of using wood as a backdrop for tiles and the types of tiles suitable for wood walls. We will also provide you with some tips to ensure that your tiles stick to the wood wall securely.
Benefits Of Wood As A Backdrop
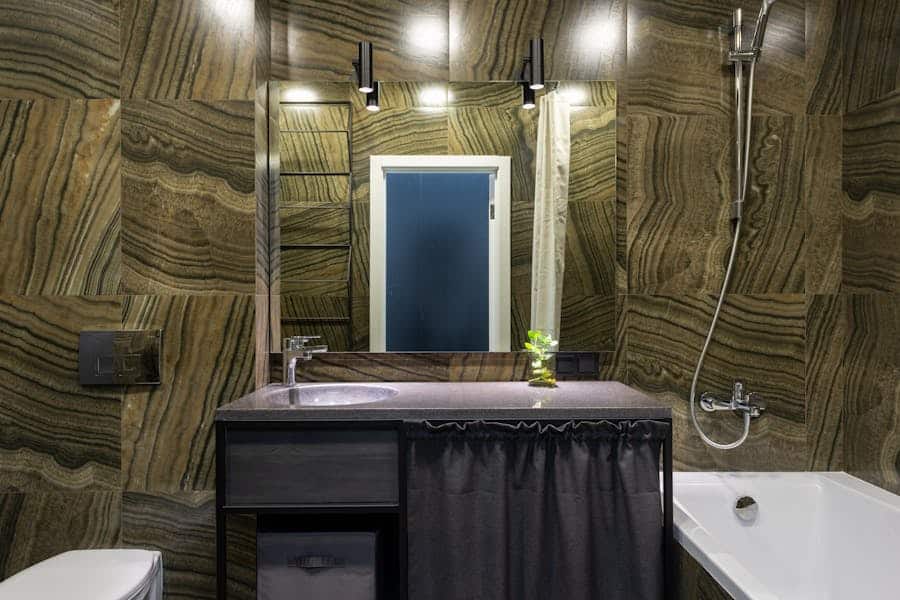
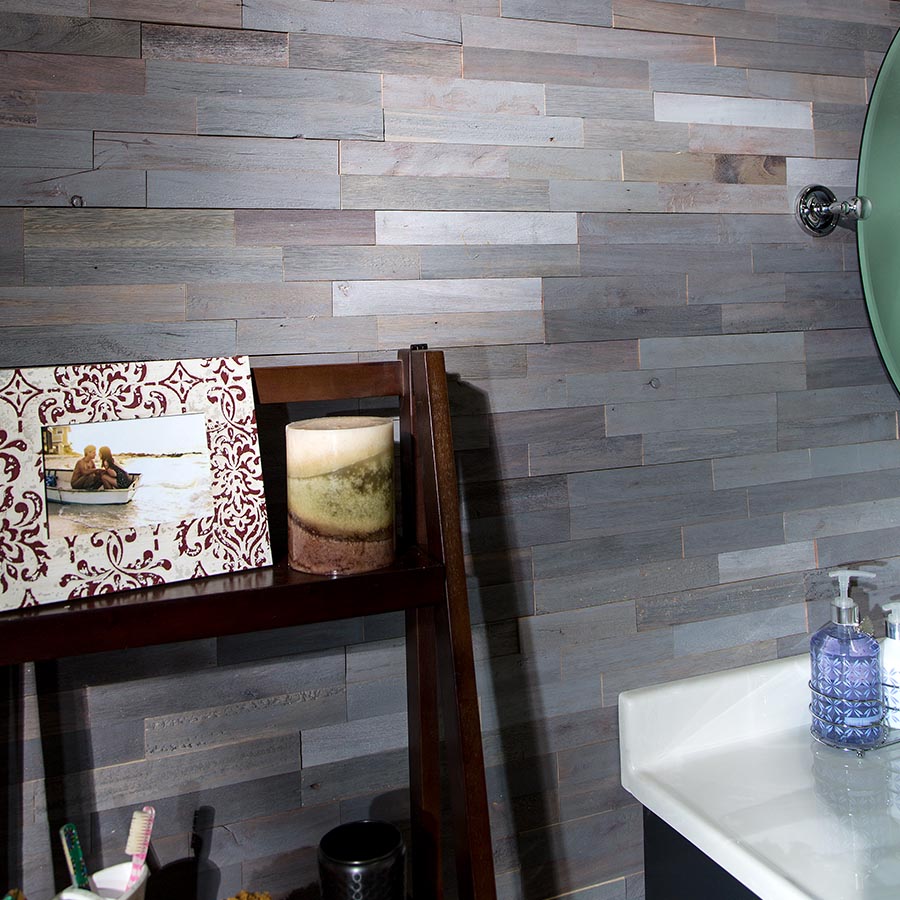
Using wood as a backdrop for tiles can add warmth and character to any room. Wood is a durable and sturdy material that can withstand the weight of tiles. It is also a great insulator, which means it can help keep your room warm during colder months. Additionally, wood walls can create a rustic or modern look depending on the type of wood and tiles used.
Types Of Tiles Suitable For Wood Walls
When it comes to tiling on wood walls, it is important to choose tiles that are suitable for the job. Not all tiles are created equal, and some may not adhere well to a wood surface. Here are some types of tiles that are suitable for wood walls:
- Ceramic tiles
- Porcelain tiles
- Glass tiles
- Natural stone tiles
These tiles are all durable and can withstand the weight and moisture that comes with tiling on a wood wall.
Tips For Ensuring Tiles Stick To Wood Walls
Here are some tips to ensure that your tiles stick to the wood wall securely:
- Prepare the wood surface by sanding it down to remove any rough spots or bumps.
- Apply a coat of primer to the wood surface to create a better surface for the tile adhesive to stick to.
- Use a high-quality tile adhesive that is suitable for wood surfaces.
- Press the tiles firmly onto the wood surface and use spacers to ensure even spacing between tiles.
- Allow the adhesive to dry completely before grouting the tiles.
- Seal the grout once it has dried to prevent moisture from seeping in and causing damage to the wood surface.
By following these tips, you can ensure that your tiles stick to the wood wall securely and create a beautiful and durable surface.
Preparation Is Key
When it comes to sticking tiles to a wood wall, preparation is key to ensure a successful and long-lasting result. By taking the time to properly prepare the surface, you can ensure that the tiles adhere securely and create a beautiful finish. There are a few important steps to follow before you start tiling, including cleaning and sanding the surface, as well as sealing the wood.
Cleaning And Sanding The Surface
To ensure good adhesion, it is crucial to start with a clean and smooth surface. Begin by removing any dirt, dust, or debris from the wood wall. A soft brush or vacuum cleaner can be used to gently clean the surface. Pay extra attention to corners and crevices where dirt can accumulate. Once the surface is clean, proceed to sand the wood wall. Sanding helps to create a rough texture that allows the tile adhesive to grip the surface better. Use a medium-grit sandpaper and sand in the direction of the wood grain. After sanding, make sure to remove any sanding residue by wiping the wall with a damp cloth or sponge.
Sealing The Wood Before Tiling
Before applying the tiles, it is important to seal the wood to prevent moisture from penetrating and damaging the wall. Moisture can cause the wood to expand, leading to tile adhesion issues and potential damage to the overall structure. Use a wood sealer or primer specifically designed for this purpose. Apply the sealer evenly onto the wood surface using a brush or roller, following the manufacturer’s instructions. Allow the sealer to dry completely before proceeding with tiling. This step will create a protective barrier and ensure a strong bond between the tiles and the wood wall.
By following these important steps of cleaning and sanding the surface, as well as sealing the wood before tiling, you are setting the foundation for a successful tile installation on a wood wall. Remember, preparation is key to achieving a professional and durable result that will enhance the beauty of your space for years to come.
Choosing The Right Adhesive
Choosing the right adhesive is crucial when it comes to sticking tiles to a wood wall. With so many options available in the market, it can be overwhelming to decide which one to choose. In this section, we will discuss the types of tile adhesives and how to apply them for a strong bond.
Types Of Tile Adhesives
There are three main types of tile adhesives: cement-based, epoxy-based, and pre-mixed adhesive. Each type of adhesive has its own advantages and disadvantages, and the choice depends on the type of tiles and the surface they will be applied to.
| Type of Tile Adhesive | Advantages | Disadvantages |
|---|---|---|
| Cement-based Adhesive |
|
|
| Epoxy-based Adhesive |
|
|
| Pre-mixed Adhesive |
|
|
Applying Adhesive For A Strong Bond
Before applying the adhesive, make sure that the wood wall is clean and free from any dirt, dust, or debris. Follow these steps to apply the adhesive:
- Prepare the adhesive according to the manufacturer’s instructions.
- Apply the adhesive to the wood wall using a notched trowel. The size of the notches will depend on the size of the tiles.
- Place the tiles onto the adhesive, pressing them firmly into place. Use tile spacers to ensure that the tiles are evenly spaced.
- Allow the adhesive to dry completely before grouting the tiles.
By choosing the right adhesive and applying it correctly, you can ensure a strong and long-lasting bond between the tiles and the wood wall.
Tile Placement Techniques
Discover effective tile placement techniques for adhering tiles to a wood wall. Start by prepping the surface, applying adhesive evenly, and firmly pressing the tiles into place. Ensure a secure bond for long-lasting results.
Determining The Layout
When it comes to tiling a wood wall, determining the layout is crucial for achieving a professional and visually pleasing result. Before starting the installation process, take some time to plan and decide on the tile arrangement that best suits your space.
To determine the layout, begin by measuring the wall and marking the center point horizontally and vertically. This will serve as the starting point for your tile placement. Next, use a straightedge and a pencil to create guidelines on the wall, ensuring they are level and square. These guidelines will help you maintain a consistent and accurate tile placement throughout the installation process.
Cutting Tiles For A Perfect Fit
Achieving a perfect fit is essential for a seamless tile installation on a wood wall. To ensure each tile fits precisely into its designated spot, you may need to make some cuts. Here are a few techniques to help you achieve a flawless result:
1. Measure Twice, Cut Once: Before making any cuts, carefully measure the space where the tile needs to fit. It’s always better to double-check your measurements to avoid any unnecessary mistakes.
2. Use a Tile Cutter or Wet Saw: Depending on the type of tiles you are using, you can either use a tile cutter or a wet saw to make accurate cuts. A tile cutter is suitable for straight cuts, while a wet saw allows you to make more intricate and curved cuts.
3. Mark and Score the Tile: To make a clean cut, use a pencil to mark the cutting line on the tile’s surface. Then, using a tile cutter or a wet saw, score the surface along the marked line. Apply gentle pressure to break the tile along the scored line.
4. Smooth the Edges: After making the necessary cuts, use a tile file or sandpaper to smooth any rough edges. This will ensure a seamless fit and prevent any injuries during the installation process.
By following these tile placement techniques, you can achieve a stunning and professional finish when sticking tiles to a wood wall. Remember to plan the layout carefully and make precise cuts for a flawless result. Happy tiling!
| Tile Placement Techniques |
|---|
| Determining the Layout |
| Cutting Tiles for a Perfect Fit |
Grouting And Sealing Tiles
When it comes to sticking tiles to a wood wall, grouting and sealing are essential steps that ensure a professional and long-lasting finish. Proper grouting and sealing not only enhance the aesthetic appeal of the tiled wall but also provide protection against moisture and damage. In this section, we will delve into the crucial aspects of mixing and applying grout, as well as the sealing process for longevity.
Mixing And Applying Grout
Before applying grout, ensure that the tiles are firmly set and the adhesive has completely dried. Mix the grout according to the manufacturer’s instructions, ensuring a smooth and lump-free consistency. Using a rubber float, apply the grout at a 45-degree angle, working it into the joints in a diagonal motion. Avoid grout lines near the wood as it can cause damage.
Sealing For Longevity
Sealing the grout is crucial for maintaining the integrity of the tiled wood wall. Once the grout has fully cured, carefully apply the sealer using a small brush or roller, ensuring complete coverage over the grout lines. Allow the sealer to penetrate the grout for the specified time and then wipe off any excess with a clean, dry cloth. Repeat the sealing process after the initial application to ensure optimal protection.
Finishing Touches And Maintenance
Once you have successfully stuck tiles to your wood wall, it’s important to focus on the finishing touches and maintenance to ensure the longevity and beauty of your tiled wood walls. This section will provide you with some essential tips for cleaning up excess grout and maintaining your tiled wood walls.
Cleaning Up Excess Grout
After applying grout to your tiled wood walls, it’s common to have some excess grout that needs to be cleaned up. Follow these steps to effectively clean up the excess grout:
- Use a damp sponge or cloth to wipe away any excess grout from the surface of the tiles.
- Rinse the sponge or cloth frequently to prevent smearing the grout.
- Once you have removed most of the excess grout, use a clean, dry cloth to buff the tiles and remove any remaining residue.
By following these simple steps, you can ensure that your tiled wood walls look clean and polished without any unsightly grout residue.
Tips For Maintaining Tiled Wood Walls
To keep your tiled wood walls looking their best, here are some valuable tips for maintenance:
- Regularly dust the tiles and wood wall surface to prevent the buildup of dirt and debris.
- Use a mild detergent and warm water to clean the tiles periodically, avoiding abrasive cleaners that may damage the surface.
- Wipe away any spills or stains immediately to prevent them from seeping into the grout or wood.
- Apply a protective sealant to the grout and wood surface to enhance durability and prevent moisture penetration.
- Avoid using sharp objects or abrasive materials that can scratch or damage the tiles or wood.
- Inspect the tiles and grout regularly for any signs of damage or wear, and repair as necessary to maintain the integrity of your tiled wood walls.
By incorporating these maintenance tips into your routine, you can ensure that your tiled wood walls remain in pristine condition for years to come.
Credit: aspectideas.com
Frequently Asked Questions
How To Prepare A Wood Wall For Tiling?
To prepare, clean, sand, and prime the wood surface before tiling for better adhesion.
What Type Of Adhesive Is Best For Wood Walls?
Use a high-quality construction adhesive suitable for wood surfaces to stick tiles securely.
Can You Tile Directly Onto A Wooden Wall?
Yes, ensure the wood is clean, dry, and primed before applying the tiles directly.
How To Ensure The Tiles Stick Properly To Wood?
Apply adhesive evenly, press tiles firmly, and use spacers for correct alignment during installation.
Is It Necessary To Seal Tiles On Wood Walls?
Sealing tiles on wood walls is recommended to protect them from moisture and ensure longevity.
How To Maintain Tiled Wood Walls For Durability?
Regularly clean tiles with a mild detergent and soft cloth to maintain their appearance.
Conclusion
Sticking tiles to a wood wall is a manageable DIY project with the right tools and methods. By following the steps outlined in this guide, you can achieve a professional-looking result that enhances the aesthetic appeal of your space. With careful preparation and attention to detail, you can create a stunning tiled wood wall that transforms your room.