
To cover drop ceiling tiles, measure the tiles, cut the covering material, and attach it to the tiles using adhesive or double-sided tape. This simple process can quickly refresh the look of your ceiling while providing a cost-effective solution.
Revamping your drop ceiling tiles is a practical way to update the look of your space without breaking the bank. Whether you’re aiming for a modern, sleek appearance or a more rustic, cozy vibe, covering your ceiling tiles can help you achieve the desired aesthetic.
In this blog, we’ll explore the step-by-step process of covering drop ceiling tiles, providing you with easy and effective solutions for transforming your space. Whether you’re a DIY enthusiast or looking for budget-friendly renovation options, covering drop ceiling tiles can be a game-changer for your interior design.
Introduction To Drop Ceiling Tiles
Discover creative ways to cover drop ceiling tiles, transforming your space with style. From paint to fabric, explore various options for a unique ceiling upgrade.
Drop ceiling tiles, also known as suspended ceilings, are a common feature in many commercial and residential buildings. These tiles are installed below the main ceiling and are used to cover pipes, ducts, and other unsightly features, while also providing sound and thermal insulation. However, over time, these tiles can become stained, discolored, or damaged, leading many people to wonder how to cover drop ceiling tiles. In this post, we’ll explore the basics of drop ceilings, reasons for covering them, and some popular options for doing so.
The Basics Of Drop Ceilings
Drop ceilings are typically made up of a grid of metal tracks and lightweight tiles that fit into the grid. The tiles can be made from a variety of materials, including mineral fiber, fiberglass, and PVC. Drop ceilings are popular in commercial buildings because they allow easy access to the space above the ceiling for maintenance and repairs. They’re also used in residential basements and other spaces where a finished ceiling is desired.
Reasons For Covering Drop Ceiling Tiles
There are several reasons why you might want to cover your drop ceiling tiles. Perhaps they’re stained or discolored, or maybe they’re simply outdated and in need of a refresh. Covering the tiles can be a quick and easy way to improve the look of a room without the expense and hassle of removing and replacing the entire ceiling. Additionally, covering the tiles can help improve the acoustics of a room by reducing echo and noise.
Some popular options for covering drop ceiling tiles include painting, installing wallpaper or fabric, or replacing the tiles altogether. Each option has its pros and cons, and the best choice will depend on your specific needs and preferences.
Painting Drop Ceiling Tiles
Transform your space by painting drop ceiling tiles. Cover them with a fresh coat of paint for a quick and cost-effective update. Add a pop of color or stick to a neutral shade for a modern look.
Painting drop ceiling tiles is a simple and cost-effective way to refresh the look of your space. Whether you want to match the tiles to your existing decor or create a whole new color scheme, a fresh coat of paint can make a world of difference. In this section, we will guide you through the process of painting drop ceiling tiles, from choosing the right paint to a step-by-step painting guide. So let’s dive in!
Choosing The Right Paint
When it comes to painting drop ceiling tiles, it’s important to select the right type of paint. Look for a paint that is specifically formulated for use on ceiling tiles, as these paints are designed to adhere well to the tile material and provide a smooth finish. Additionally, opt for a paint that is low in volatile organic compounds (VOCs) to ensure minimal odor and better indoor air quality.
Step-by-step Painting Guide
To ensure a successful painting project, follow this step-by-step guide:
- Prepare the area: Start by clearing the room of any furniture or objects that may obstruct your work. Lay down drop cloths or plastic sheets to protect the floor and surrounding surfaces from paint splatters.
- Clean the tiles: Use a mild detergent and water solution to clean the drop ceiling tiles thoroughly. Remove any dirt, grease, or stains that may hinder paint adhesion. Rinse the tiles well and allow them to dry completely.
- Prime the tiles: Apply a coat of primer specifically formulated for ceiling tiles. This will create a smooth surface for the paint to adhere to and help achieve a more even finish. Allow the primer to dry according to the manufacturer’s instructions.
- Paint the tiles: Use a roller or paint sprayer to apply the paint evenly over the ceiling tiles. Start from one corner and work your way across the ceiling, applying thin coats of paint. Allow each coat to dry before applying the next one.
- Apply additional coats if needed: Depending on the desired color and coverage, you may need to apply multiple coats of paint. Follow the drying time instructions between each coat.
- Clean up and admire your work: Once the final coat is dry, carefully remove any tape or protective coverings. Clean up your painting tools and return the furniture and objects to their original places. Step back and admire your freshly painted drop ceiling tiles!
Painting drop ceiling tiles can transform the look and feel of a room, giving it a fresh and updated appearance. With the right paint and a careful step-by-step approach, you can achieve professional-looking results. So go ahead, unleash your creativity, and enjoy the rewarding process of painting your drop ceiling tiles!
Using Fabric Or Wallpaper
To cover drop ceiling tiles, consider using fabric or wallpaper for a quick and stylish transformation. Simply measure, cut, and adhere the material to the tiles for a fresh look in any room. Customizing your ceiling with fabric or wallpaper can add a unique touch to your space.
Using Fabric or Wallpaper
When it comes to covering drop ceiling tiles, using fabric or wallpaper can be a creative and cost-effective solution. Not only does it add a touch of personal style to your space, but it also helps to hide any imperfections or stains on the tiles. In this section, we will explore the process of selecting materials and the installation techniques involved in covering drop ceiling tiles with fabric or wallpaper.
Selecting Materials
To begin, you’ll need to choose the right fabric or wallpaper for your project. When selecting fabric, opt for lightweight materials that are easy to work with, such as cotton or polyester blends. Consider the color and pattern of the fabric, ensuring it complements the overall aesthetic of your room. If you prefer wallpaper, look for a design that suits your taste and matches the desired style of the space.
Installation Techniques
Once you’ve selected your preferred material, it’s time to start the installation process. Here are a few techniques you can use when covering drop ceiling tiles with fabric or wallpaper:
1. Clean the tiles: Before installation, make sure to clean the tiles thoroughly to remove any dust or dirt that may interfere with the adhesive properties of the fabric or wallpaper.
2. Measure and cut: Measure the dimensions of each tile and cut the fabric or wallpaper accordingly. Leave some extra material on each side to ensure a proper fit.
3. Apply adhesive: Using a suitable adhesive, apply a thin and even layer on the back of the fabric or wallpaper. Take care not to apply too much, as it may cause the material to wrinkle or sag.
4. Attach the fabric or wallpaper: Carefully place the fabric or wallpaper onto the tile, starting from one corner and working your way across. Smooth out any wrinkles or air bubbles as you go, ensuring a neat and seamless finish.
5. Trim the excess: Once the fabric or wallpaper is attached, use a sharp utility knife or scissors to trim any excess material, ensuring clean edges and a polished look.
By following these installation techniques, you can transform your drop ceiling tiles with fabric or wallpaper, adding a touch of elegance and personal style to your space. Whether you prefer a vibrant pattern or a subtle texture, this method allows you to customize your ceiling and create a unique atmosphere in your room.
Ceiling Tile Skins And Overlays
Ceiling Tile Skins and Overlays are a cost-effective and efficient solution for revamping your drop ceiling tiles without the need for a full replacement. These versatile products offer a quick and easy way to refresh the look of your space, whether it’s a residential, commercial, or industrial setting.
Benefits Of Tile Skins
Enhance Aesthetics: Transform the appearance of your ceiling by choosing from a wide range of designs and patterns that suit your style.
Hide Imperfections: Conceal stains, discoloration, or damage on existing tiles, giving your ceiling a flawless finish.
Easy Maintenance: Enjoy the convenience of wipe-clean surfaces that resist mold, mildew, and moisture, ensuring long-lasting beauty.
How To Apply Skins And Overlays
- Prepare the Surface: Clean the existing tiles to ensure a smooth and dust-free base for the new overlay.
- Measure and Cut: Take accurate measurements and trim the skin or overlay to fit the dimensions of the tile.
- Apply Adhesive: Use a suitable adhesive to affix the skin securely onto the tile, ensuring a snug and seamless fit.
- Smooth Out Air Bubbles: Gently press out any air bubbles to achieve a uniform and polished appearance.
Installing Faux Tin Tiles
When it comes to enhancing the aesthetic appeal of a drop ceiling, installing faux tin tiles can be a game-changer. These tiles offer an elegant and timeless look, transforming a plain ceiling into a stunning focal point. Here’s a closer look at the different tin tile styles and the installation process.
Tin Tile Styles
Faux tin tiles come in various styles, each offering a unique and eye-catching design. Some popular styles include:
- Victorian-inspired patterns
- Geometric and floral designs
- Classic and contemporary motifs
The Installation Process
Installing faux tin tiles is a relatively straightforward process that can be accomplished with the right tools and a bit of patience. Here’s an overview of the installation process:
- Prepare the surface by ensuring it is clean and free of any debris.
- Measure the ceiling area to determine the number of tiles needed.
- Apply adhesive to the back of the tiles and carefully press them onto the ceiling.
- Secure the tiles in place using finishing nails for added stability.
- Finish the installation by adding any decorative accessories or trim pieces.
Creative Alternatives
When it comes to covering drop ceiling tiles, there are plenty of creative alternatives that can transform the look of any space. Whether you want to add a personal touch or enhance the overall aesthetic, these ideas will inspire you to think outside the box. From DIY solutions to incorporating art and patterns, let’s explore the various options to cover your drop ceiling tiles.
Diy Solutions
If you’re a fan of DIY projects, there are several budget-friendly options to cover your drop ceiling tiles. Here are a few ideas:
- Paint: A fresh coat of paint can instantly revitalize the look of your drop ceiling. Choose a color that complements the overall theme of your space and get ready to transform your ceiling tiles.
- Fabric Panels: Create fabric panels using lightweight materials like muslin or cotton. Simply attach the fabric to a thin wooden frame and hang them on your drop ceiling grid. This adds texture and visual interest to the room.
- Wood Planks: For a rustic and cozy look, consider installing wood planks directly over your drop ceiling tiles. This DIY solution adds warmth and character to any space.
Incorporating Art And Patterns
If you want to make a bold statement or showcase your artistic side, incorporating art and patterns is a great option. Here are some ideas to consider:
- Wallpaper: Choose a vibrant wallpaper design that complements your interior decor. Cut the wallpaper to fit the size of your drop ceiling tiles and attach them with adhesive. This instantly adds personality and style to your ceiling.
- Stencils: Get creative with stencils and add intricate patterns or motifs to your drop ceiling tiles. This DIY approach allows you to customize the design and create a unique focal point in the room.
- Decals: If you prefer a hassle-free option, decorative decals are a fantastic choice. There are a wide variety of designs available, ranging from geometric patterns to nature-inspired motifs. Simply peel and stick them onto your drop ceiling tiles for an instant transformation.
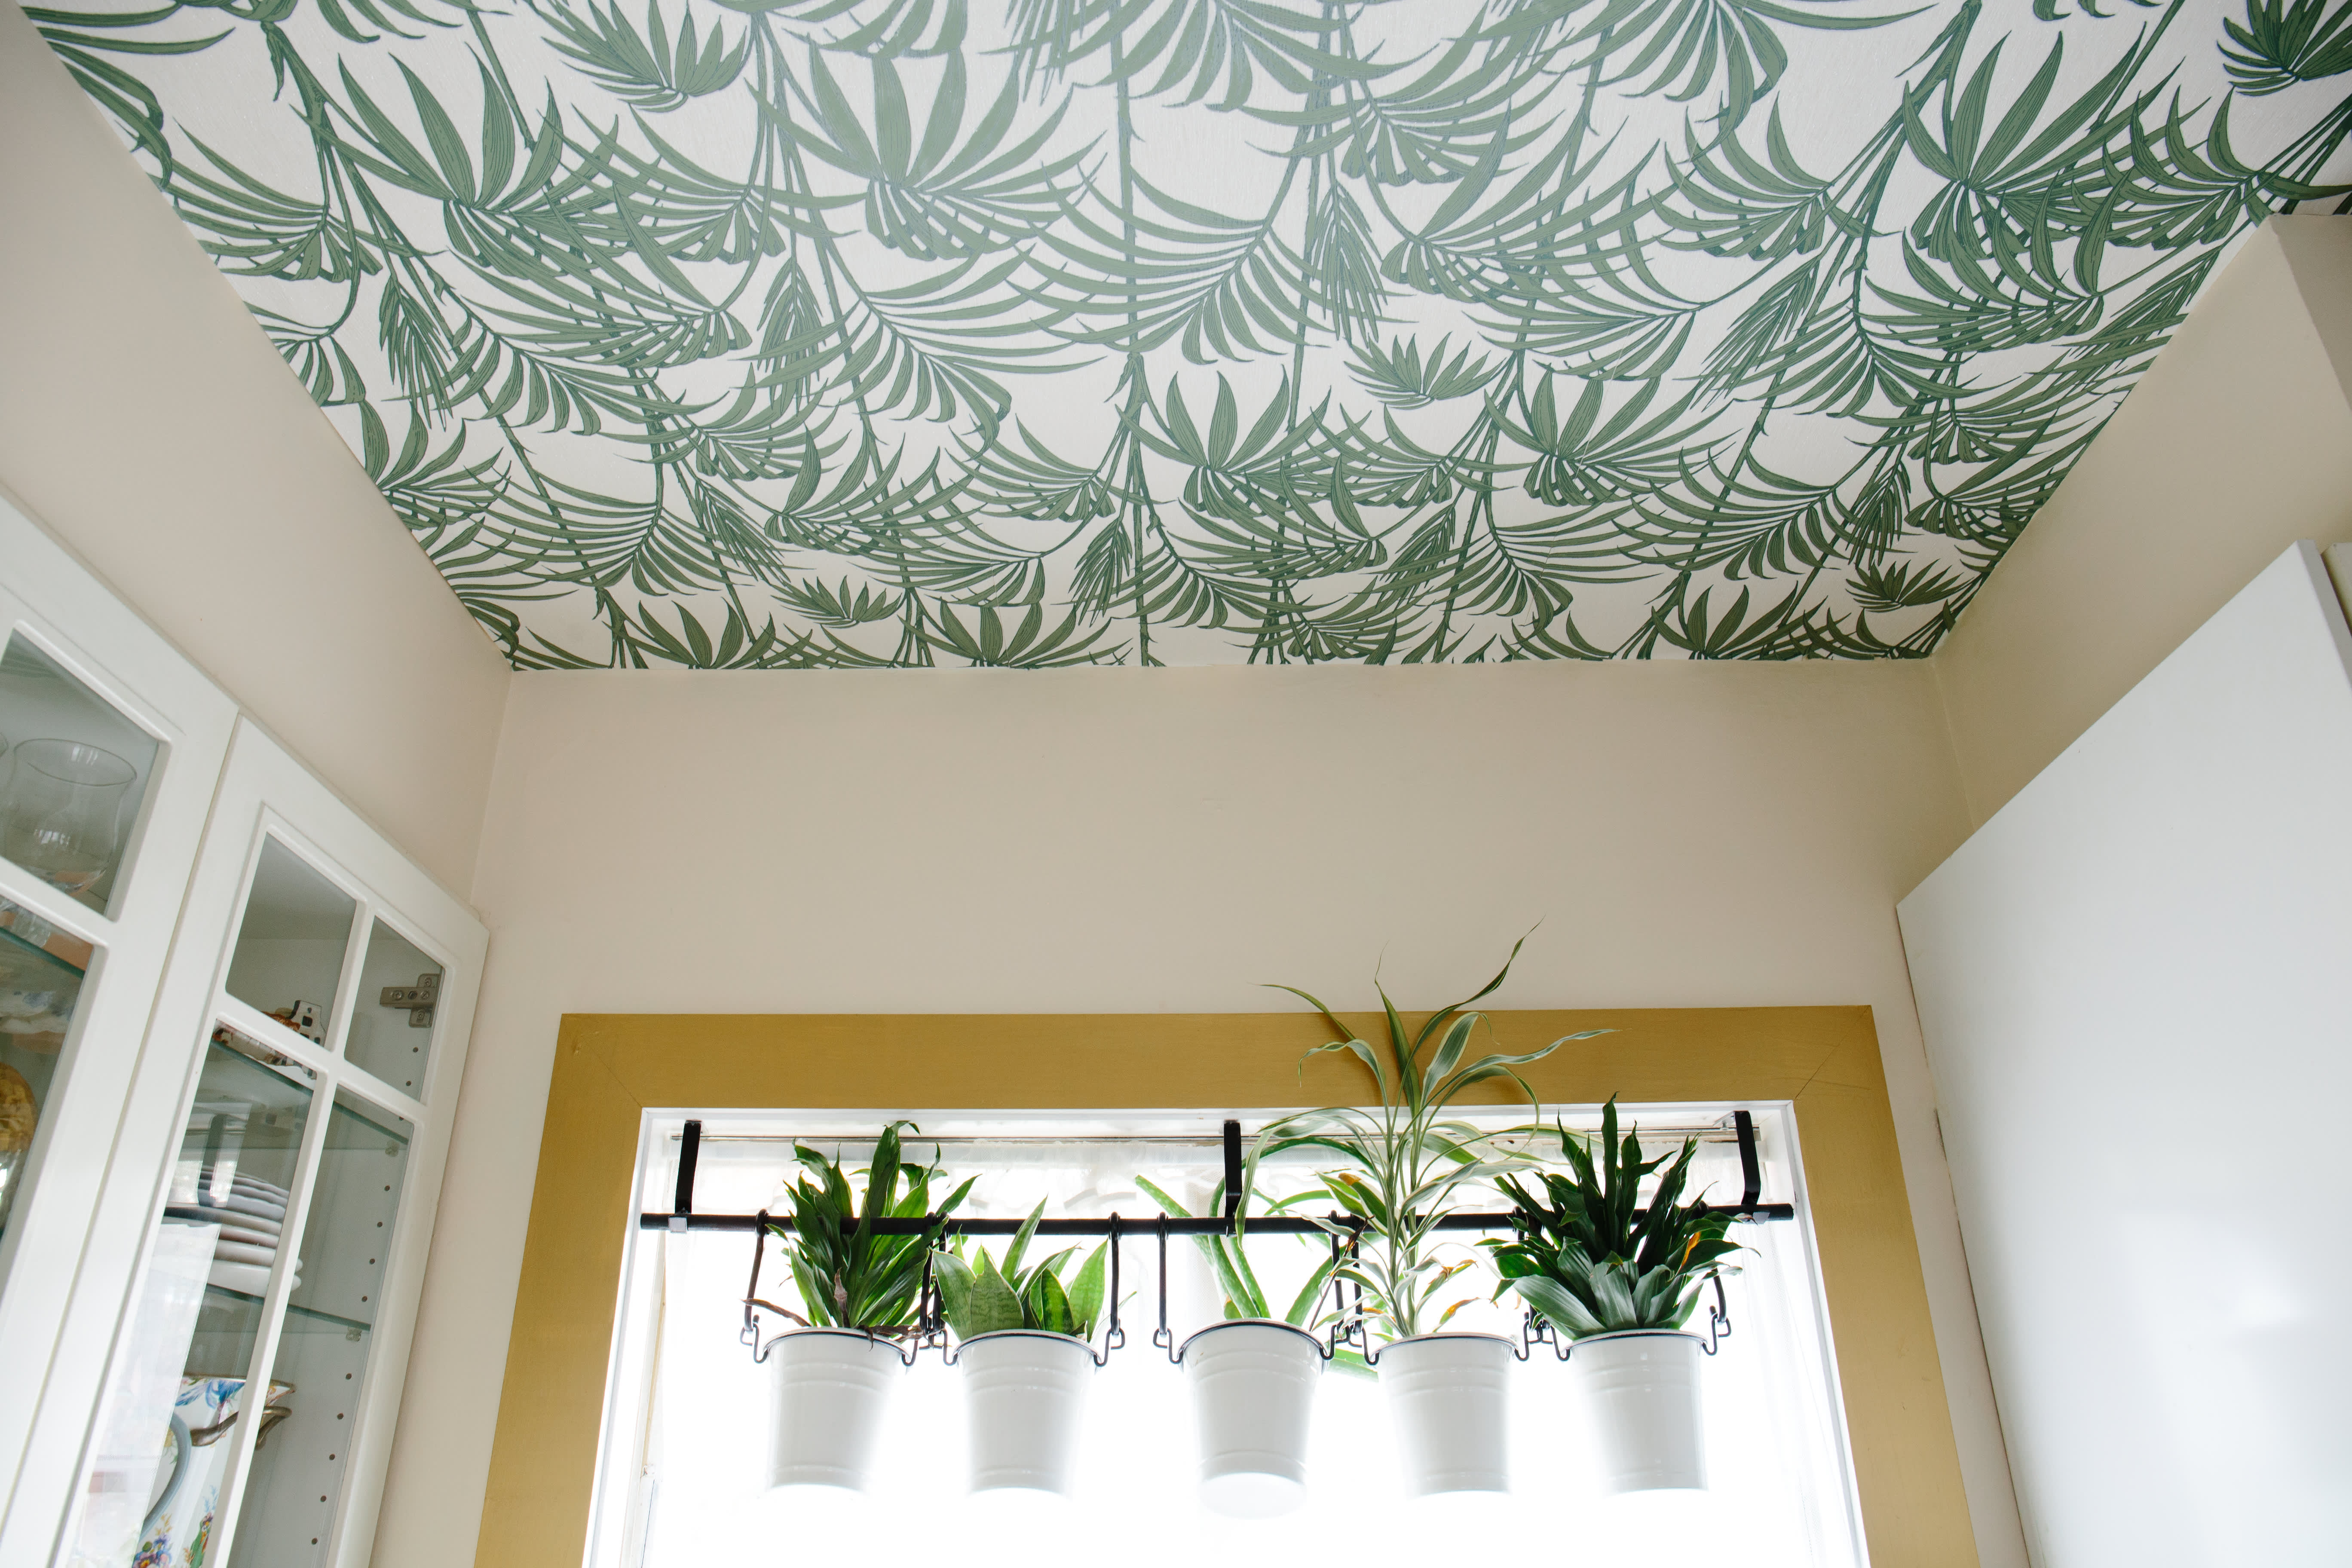
Credit: www.apartmenttherapy.com
Frequently Asked Questions
How Do I Cover Drop Ceiling Tiles?
To cover drop ceiling tiles, you can use wallpaper, ceiling tiles, or faux finishes.
What Is The Best Way To Cover Drop Ceiling Tiles?
The best way to cover drop ceiling tiles is to use ceiling tiles or a faux finish.
Can I Paint Drop Ceiling Tiles?
Yes, you can paint drop ceiling tiles. Use a paint specifically designed for ceiling tiles.
How Can I Update My Old Drop Ceiling?
You can update your old drop ceiling by replacing the tiles, adding a faux finish, or using wallpaper.
How Do I Remove Drop Ceiling Tiles?
To remove drop ceiling tiles, gently push up on the tile and tilt it to remove it from the grid.
Can I Install A New Drop Ceiling Over An Old One?
Yes, you can install a new drop ceiling over an old one, but it’s best to remove the old one first for the best results.
Conclusion
Covering drop ceiling tiles can transform a space effortlessly. By following these simple steps, you can enhance the look of your room easily. Remember to choose the right materials for a successful project. Elevate your ceiling with creativity and enjoy the refreshed ambiance!